

This topic explains how to install and configure the Skype for Business Connector application.
These items must be in place prior to installing Skype for Business Connector.
- Skype for Business (Lync) Server (min version 2013).
- UCMA Runtime 5.0 installed.
- Skype for Business Connector must be enabled for your
- Create a Trusted Application in Skype for Business Server.
- Publish Topology Manually in Skype for Business Server.
- Create a Certificate in Skype for Business Server Using MMC.
- Export a Certificate in Skype for Business Server Using MMC.
- Import a Certificate in Connector Machine using MMC.
- Download the Skype for Business Connector by clicking
- Click on inContact_Connector_Skype_for_Businesses.msi.
- Follow the instructions in the Read Me file included in the download package to install the application.
- Open the Skype for Business Connector application. Click Configuration in the side menu.
-
Type the appropriate value in each field according to the descriptions on the Configuration Page.
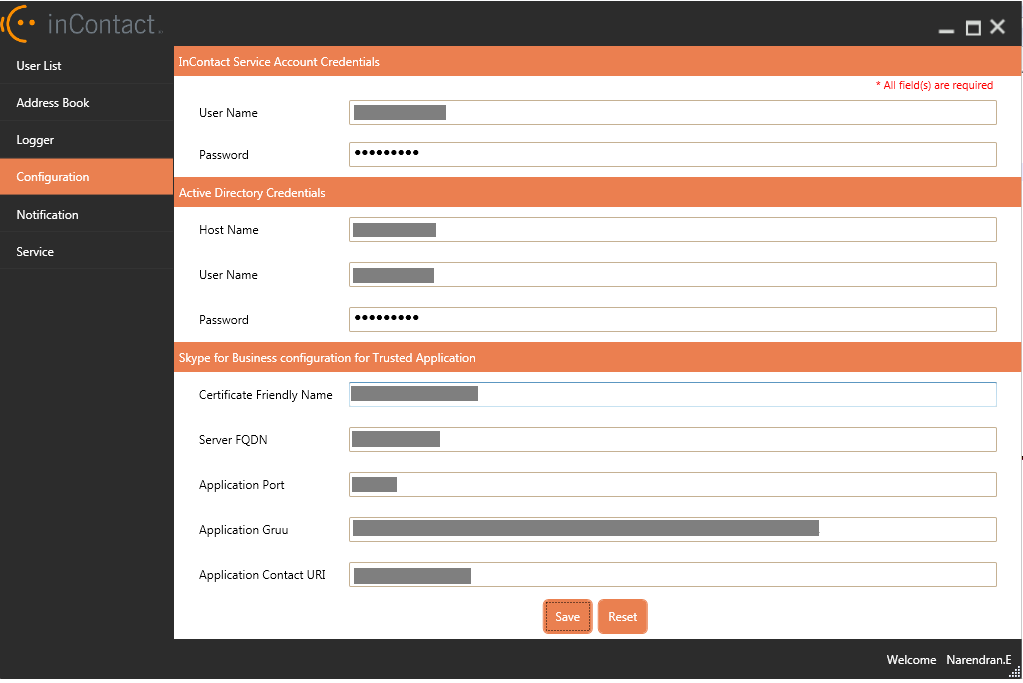
-
Click Save or type [CTRL] + [S] to save the configuration settings.
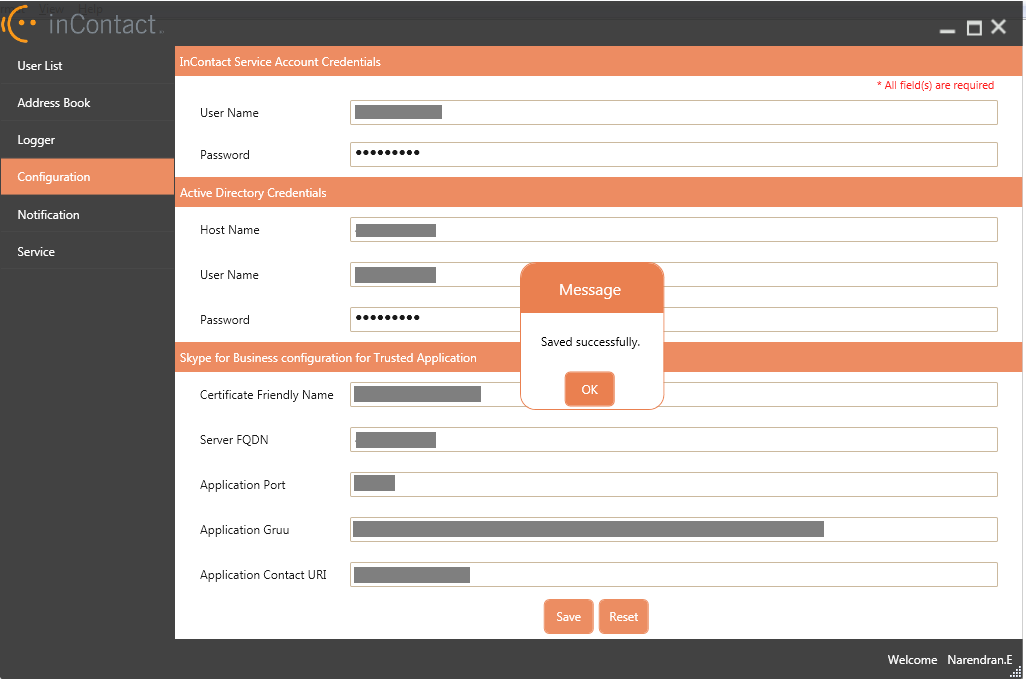
If you entered the correct information, you receive a message that says your changes saved successfully.
If you entered incorrect credentials, you receive a message that says you entered invalid information.
If you receive an error message telling you the Skype for Business Connector feature is disabled for your tenant
 High-level organizational grouping used to manage technical support, billing, and global settings for your CXone environment, contact your CXone account manager for assistance.
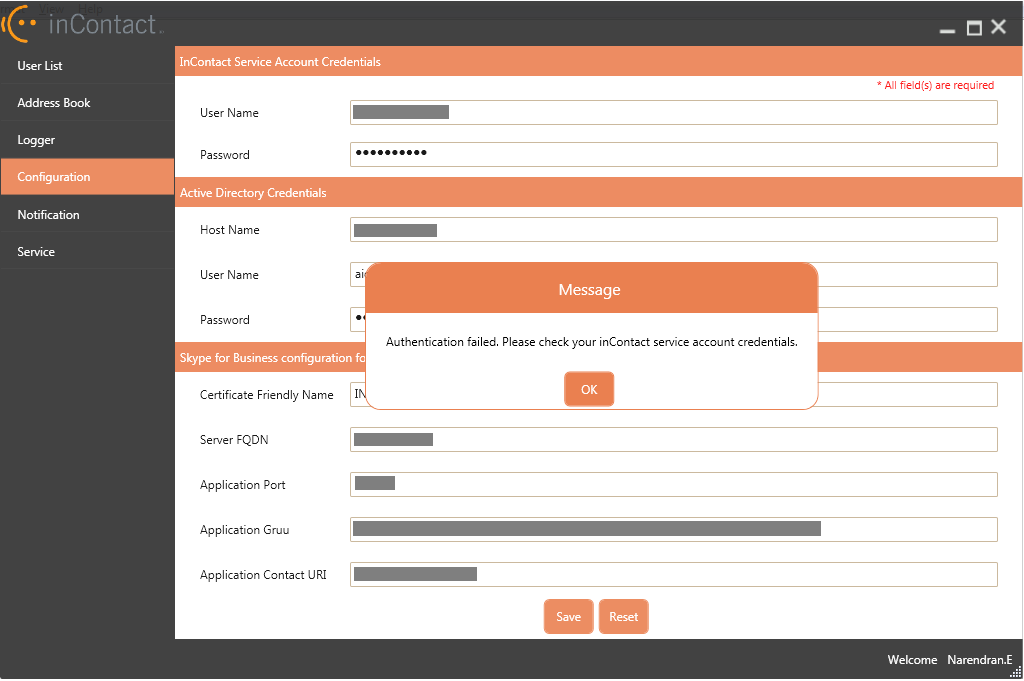
- When your settings save successfully, click OK.
- Configure logging.
- Configure notifications.
- Import a user list.
- Create an address book.
- Start the service.