

Required permission: Interaction Analytics Edit
When you edit the workspaces![]() Named view of one or more widgets. for a specific dataset
Named view of one or more widgets. for a specific dataset![]() Set of parsed interaction transcripts that spans a specific period of time and match your specified filter criteria., you only change them for that dataset. Your edits won't affect the workspace template
Set of parsed interaction transcripts that spans a specific period of time and match your specified filter criteria., you only change them for that dataset. Your edits won't affect the workspace template![]() Multiple workspaces grouped as a reusable template. that was originally applied to the dataset. They also won't affect other datasets. You can:
Multiple workspaces grouped as a reusable template. that was originally applied to the dataset. They also won't affect other datasets. You can:
- Add, remove, or rename workspaces.
- Add or remove widgets from a workspace.
- Resize or move widgets in the workspace.
Modifying workspace templates requires the Admin permission.

- Open a dataset by clicking My Data and then the name of the dataset.
-
Click Edit Workspaces. The Edit Workspaces workspace opens and enables you to perform the actions documented on this page.
- When you finish editing the dataset workspaces, click Done to save your changes or Cancel to discard them.
Create a Workspace
- Go to My Data and open the dataset you want to edit.
- Click
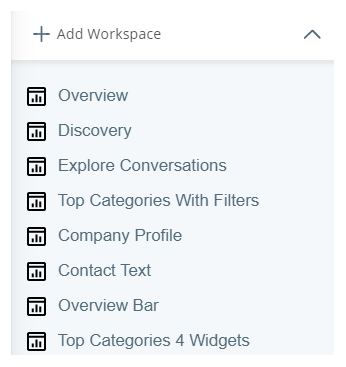
 . Click the down arrow beside Add Workspace to open the list of workspaces.
 -
To create a blank workspace
 Named view of one or more widgets., select Add Workspace. To create a workspace using an existing workspace as a template, click the name of the workspace you want to use as a template. If you have a long list of workspaces, use the search bar to help filter the list. Rename the new workspace.
 - Add widgets to the workspace.
Add a Widget to a Workspace
-
Open the workspace
Named view of one or more widgets. in which you want to add the new widget Graphical representation of data that meets specified filter criteria.. - Click Edit Workspace.
-
Click
. Select the widget you want to add from the list in the Widgets pane on the right. See Workspace Widgets to learn more about what a widget does. The widget you selected appears in the workspace design area.
- To move a widget, click anywhere in the widget you want to move, drag it to the location you want it, and drop it. The widget becomes more transparent while you move it, and other widgets move out of the way to create space to drop the widget.
- To resize a widget, hover your cursor over the edge of the widget you want to resize. When the cursor changes to a double arrow, click and drag the edge where you want it. Release the click. If you hover over a corner, you can adjust the height and width of the widget simultaneously.
-
If the widget you selected has configuration options and you want to customize it, click the gear icon in the top right corner of the widget.
The configuration options are different for each widget. For instructions for configuring the widget you selected, see Edit Widget Settings.
- Click Done to save your changes.
Edit Widget Settings
You can modify settings for the Overview Bar Widget, Metrics Widget, and Keywords Widget, including the title that appears above the chart, filters applied to the chart, the color of the bars, the amount of data displayed, or the metrics displayed.
- Open the workspace Named view of one or more widgets. in which you would like to edit the widgets.
- Click Edit Workspace.
- Click the gear icon in the top right corner of any of the three valid widgets Graphical representation of data that meets specified filter criteria..
- Make modifications according to the instructions for the widget type below.
- Click OK or Done to save your changes or Cancel to discard them.
Overview Bar Widget
You can customize which of the three sections appear in the Overview Bar Widget. To include the section in the widget, select the corresponding checkbox. To remove the section from the widget, clear the corresponding checkbox.
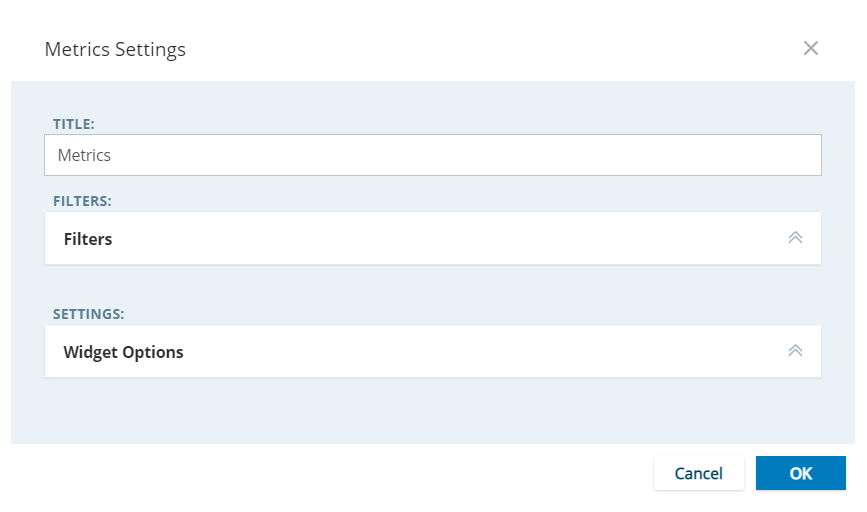
Metrics Widget
You can customize the Metrics Widget to display whatever NICE CXone metric data you want. You can change the title, the color of the bars in the chart, and filter by sentiment or metric thresholds. Open the following drop-down for detailed information about all settings you can apply to the Metrics Widget.
|
Field |
Details |
|---|---|
| Field |
The NICE CXone metric you want to use to filter the data displayed in the widget. Choose one from these available metrics:
|
|
The number of bars to show on the widget. Only the bars with the highest counts appear. |
|
| Color | The color you want the bars to be. You can use the color picker to select a color or type a hexidecimal code to select an exact color. |
| Default View | Specifies whether you want the widget to display the data in exact numbers or percentages by default. Users can view either one, but whichever you choose is what users see first when they open the workspace and view the widget. |
| Filters |
You can filter based on the sentiment of the data or by the metric itself. To view only contacts with a certain sentiment, select the checkbox corresponding to that sentiment and clear the other sentiment checkboxes. To view only contacts that match certain metric thresholds, set the threshold by:
Click Add Filter. |
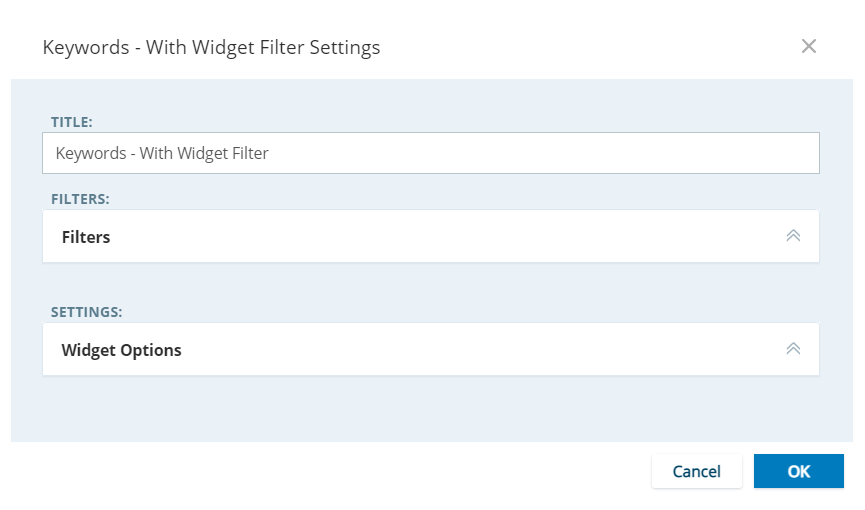
Keywords Widget
You can customize the Keywords Widget to display a custom title, color the words differently, choose the number of keywords that appear in the chart, and filter by sentiment.
Remove a Widget from the Workspace
- Click the workspace Named view of one or more widgets. you want to modify to select it.
- Click Edit Workspace.
-
Locate the widget
Graphical representation of data that meets specified filter criteria. you want to remove from the workspace, then do either of the following:- Click X in the top right corner of the widget.
-
Click anywhere in the widget, drag it to the trash icon, and drop it.