

The user accounts in Performance Management are separate from your CXone system and are only used within PM. The Users page allows you to manage these PM accounts.
Create New Users
You must create and configure Performance Management roles before you create users, since you must assign roles to your new users.
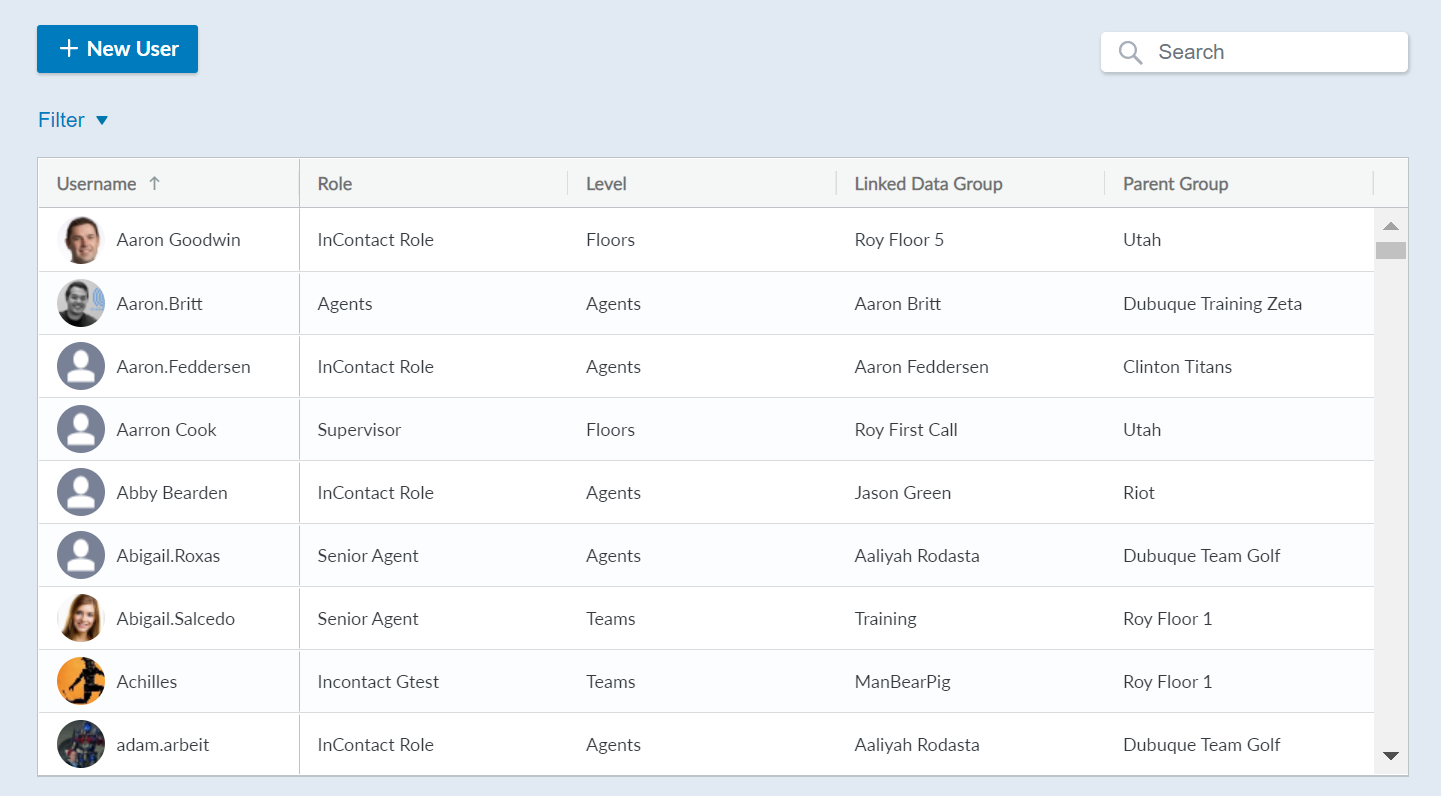
- Click User Settings > Users.
- Click New User.
- Configure the user by entering relevant information. This information appears in the Details tab of a user account.
 Learn more about fields in this step
Field
Details
Type
The category by which the user will be associated with data. If the employee's Type is Employee, then their Level can be Agents, Teams, Floors, Regions, or Company.If the employee's Type is Campaign, then their Level can be Point of Contact, Skill, Campaign, or Account.
Level
The level at which this user can view information and data. This setting could be used to determine a supervisor's ability to view information for their team.
Linked Data Group
The specific data group with which this account is linked. This might be a team that a supervisor oversees, or a manager's floor. Values in this field change depending on the chosen Level.
Parent Group
A higher-level group that may correlate with a role, such as a specific sales department. Quality Alert
Select this radio button if you want this user to receive alerts based on the quality in their performance.
Performance Alert
Select this button if you want this user to receive performance alerts.
Active
Select this radio button if this user is an active employee.
Multi-Factor Authentication Requires the user to have enhanced security through multi-factor authentication. After enabling this setting, affected users will set up their MFA password. Users must use an authentication app to scan a QR code each time they log in. Example authentication apps are: Microsoft Authenticator, Google Authenticator, Authy, or LastPass.
If a user forgets their MFA password, you can reset their MFA settings in their user account by clicking the Reset Authenticator button.
Time Zone Select the user's time zone. If your PM system is set up on the new (AX) platform, a system administrator can configure 3 additional time zone options for selection. Work with your CXone Account Representative if you want to enable more time zones. Time zone affects the time in which data is displayed on a user's dashboard, time parameters for starting challenges or games, and so forth. AX platform users can select one of the alternative time zone options directly in the dashboard settings to affect that specific dashboard. - To add a profile picture, click the blank profile circle and either browse for, or drag-and-drop, an image.
- Click Save.
Impersonate Users
Impersonating a user only impersonates their CXone Performance Management account, not their ACD CXone account.
- Click User Settings > Users.
- Search for the user account that you want to impersonate, or use the filtering tools to find the user you want to edit.
- Click the user account name.
- Click the blue IMPERSONATE icon below the profile picture. This logs you in as that user and takes you to their main dashboard. You will need to log out as that user and log back in with your own account.
Reset Passwords
- Click User Settings > Users.
- Search for your desired user account, or use the filtering tools to find the user you want to edit.
- Click the user account name.
- Click the blue Reset Password icon below the profile picture. This generates a new, temporary password for the account and sends an email to the email address connected to the account with a prompt to log in and change the password.
When the user logs into their account, they will be prompted to change their password.
Add/Subtract Coins
- Click User Settings > Users.
- Search for your desired user account, or use the filtering tools to find the user you want to edit.
- Click the user account name.
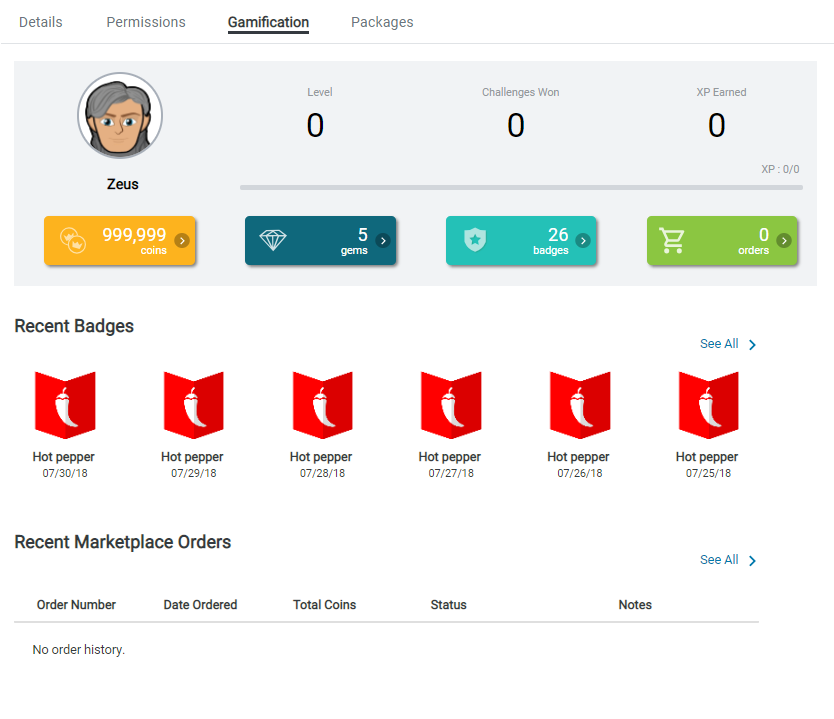
- Click the Gamification tab.
- Click the yellow coins icon to display the coins summary.
- Click the Add/Subtract coins icon.
- Enter the amount of coins and a reason for performing the transaction.
- Click Save.