

The Frustrated Interactions Widget allows you to see what types of contacts are more frustrated than others. You can configure the widget to show the number of frustrated contacts for categories you specify, the ten categories with the largest number of frustrated contacts, or the ten agents with the most frustrated contacts.
You can view similar data from the Interaction Analytics Frustration Widget in Dashboards.
Read the Frustrated Interactions Widget
Categories View
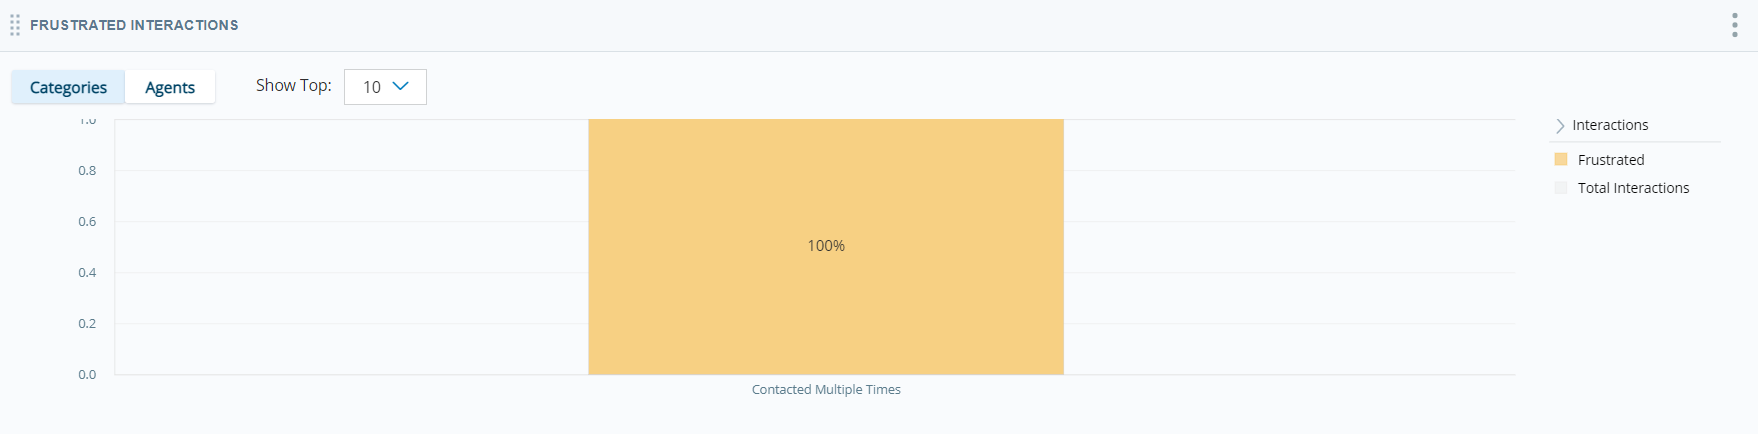
Each bar represents a category and indicates the total percentage of contacts in that category who were frustrated. Click a category bar to see the percentage of frustrated contacts in this category per channel, and to see the three agents with the highest percentage of frustrated contacts in the selected category.
Agents View
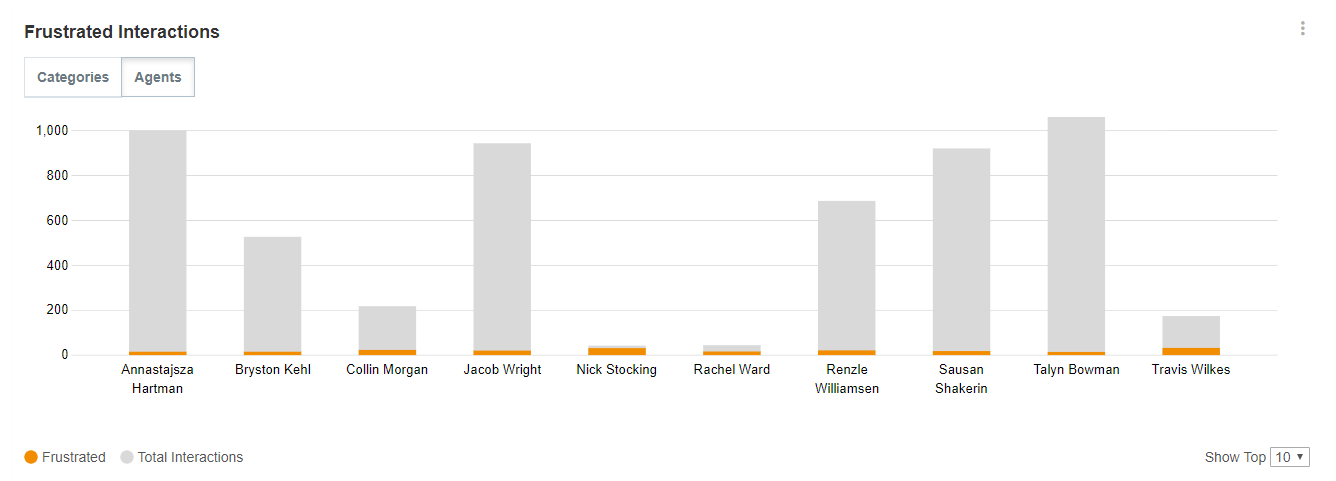
Each bar represents an agent and indicates the total percentage of contacts the agent handled who were frustrated. Click an agent bar to see the percentage of frustrated contacts for this agent per channel.
Show Interactions
You can view the transcripts for frustrated contacts by category or agent by clicking on a category or agent bar in the chart and selecting Show Interactions. A pop-up containing the corresponding contacts appears. For category transcripts, the related category words/phrases are highlighted in each transcript if applicable. For example, if you click Intent to Buy Competitor Products and select Show Interactions, the pop-up contains all transcripts in the dataset that fall under the Intent to Buy Competitor Products category and the related category that triggered its inclusion is highlighted.
You can perform all the same actions in this pop-up that you can in the Interactions Widget. These include:Viewing transcriptsListening to call recordingsHighlighting selected itemsSorting data into your preferred viewFor instructions, see Interactions Widget.
Modify the Frustrated Interactions Widget Settings
You can modify the Frustrated Interactions Widget settings to apply filters, change the name of the widget in the workspace![]() Named view of one or more widgets., change the default view, and specify the categories you want to appear in the widget.
Named view of one or more widgets., change the default view, and specify the categories you want to appear in the widget.
Change the Title of the Frustrated Interactions Widget
- Click Options
 in the top right corner of the widget.
 - Click Settings.
- Enter the new widget name in the Title field.
- Click OK.
Specify the Default View for the Frustrated Interactions Widget
You can toggle between the Agents and Categories views in the Frustrated Interactions Widget. However, you can specify which of the two views appears in the workspace by default.
- Click the three stacked dots in the top right corner of the widget.
- Click Settings.
- Click Widget Options to open the drop-down.
- In the Default View field, select either Categories or Agents to specify which you would like to be the default view.
- Click OK.
Specify Categories to Display in the Frustrated Interactions Widget
When you choose up to 10 specific categories to display in the Frustrated Interactions Widget, the widget shows only those categories in the Categories view, and the widget only represents frustration for matching categories that were handled by the displayed agents in the Agents view. All frustrated contacts under different categories are filtered out of both views of the widget.
- Click the three stacked dots in the top right corner of the widget.
- Click Settings.
- Click Widget Options to open the drop-down.
- Clear the Display Top Categories checkbox.
- Navigate the category folders or use the search bar above the category list to locate the categories you want to include in the widget. Select the checkbox next to each category you want to include. A counter to the right of the Display Top Categories checkbox displays how many of the 10 maximum categories you have selected.
- Click OK.
Specify Agents to Display in the Frustrated Interactions Widget
When you choose up to 10 specific agents to display in the Frustrated Interactions Widget, the widget shows only those agents in the Agents view, and the widget only represents frustrated contacts for those specified agents that handled the displayed agents in the Agents view.
- Click the three stacked dots in the top right corner of the widget.
- Click Settings.
- Click Widget Options to open the drop-down.
- Clear the Display Top Agents checkbox.
- Use the search bar above the agent list to locate the agents you want to include in the widget. Select the checkbox next to each agent you want to include. A counter to the right of the Display Top Agents checkbox displays how many of the 10 maximum agents you have selected.
- Click OK.
Export the Frustration Chart as CSV
Data is exported in CSV format.
- Click Options in the top right corner of the widget.
- Click Export
 .
.
Save the Frustration Chart as an Image
Images are exported as PNG files.
- Click Options in the top right corner of the widget.
- Click Save Chart as Image
 .
.