

If you set up appointment scheduling, your customers can select the day and time they want the agent to reach out to them. You can set hours of availability for your agents. This determines the time slots your customers can choose from when scheduling their appointment.
Create an Appointment Scheduling Service
- Click the app selector
 and select ACD.
 - Go to DFO > Points of Contact Digital.
- Click Appointment Scheduling.
- Click Create Service.
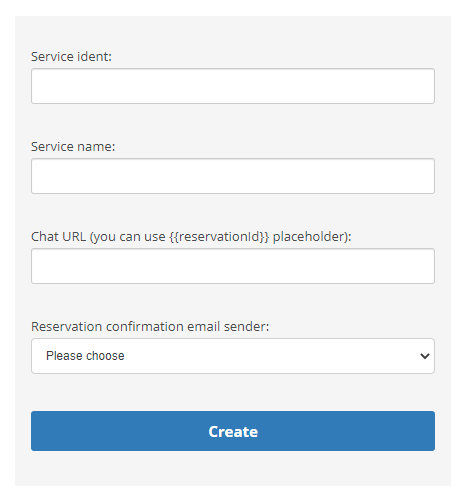
- Enter the Service ident and Service name. You can enter a Chat URL if you want the schedule to display in a chat. Select an option from the Reservation confirmation email sender drop-down.
 Learn more about fields in this step
Field Details Service ident The database name for the service. You cannot use spaces in this name. Service name
The customer-facing name for the service.
Chat URL If you want the schedule to be displayed in a chat, enter the URL of the chat. This must start with http://.
Reservation confirmation email sender Determines the email address that DFO sends an appointment confirmation from. - Click Create.
- Make a note of the URL shown on the main Appointment Scheduling page. This is the Dynamic content URL you will use when you create a quick response.
Set Available Time
Once you create a service, you need to set the available time slots so customers know when they can schedule appointments.
- Click the app selector and select ACD.
- Go to DFO > Points of Contact Digital.
- Click Appointment Scheduling.
- Click Edit for the service you want to set hours on.
- Click Add Capacity.
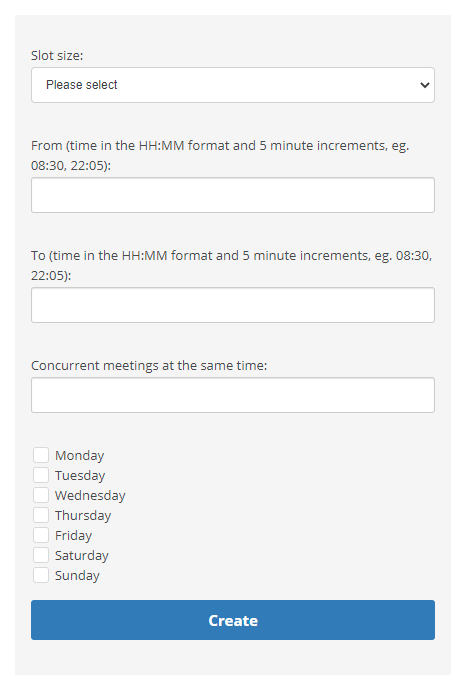
- Select the Slot size, enter From and To times, and set the maximum number of allowed Concurrent meetings at the same time. Learn more about fields in this step
Field Details Slot size How long each time slot of availability is. Options range from 10 min to 60 min. From, To
The time when availability starts and ends, written in HH:MM time format. For example, a 9:00 AM to 5:00 PM availability would be entered as 09:00 and 17:00, respectively.
Concurrent meetings at the same time The maximum number of meetings that can be scheduled in the same time slot. - Select the checkboxes for each day these times apply to.
- Click Create.
Set Unavailable Time
You can also schedule time that is unavailable for appointments, such as a holiday or other time off.
- Click the app selector and select ACD.
- Go to DFO > Points of Contact Digital.
- Click Appointment Scheduling.
- Click Edit for the service you want to configure.
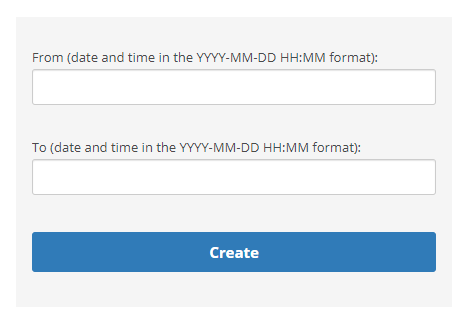
- Click Add Unavailability.
- Enter From and To dates and times for the unavailability. The date must be in the YYYY-MM-DD format and the time must be in the HH:MM format. For example, a 9:00 AM to 5:00 PM unavailability on the 28th of September, 2021 would be entered as 2021-09-28 09:00 and 2021-09-28 17:00, respectively.
- Click Create.
Create a Quick Response
Agents send appointment scheduling requests to customers from quick responses. If you don't complete this section, agents won't be able to use appointment scheduling with your customers.
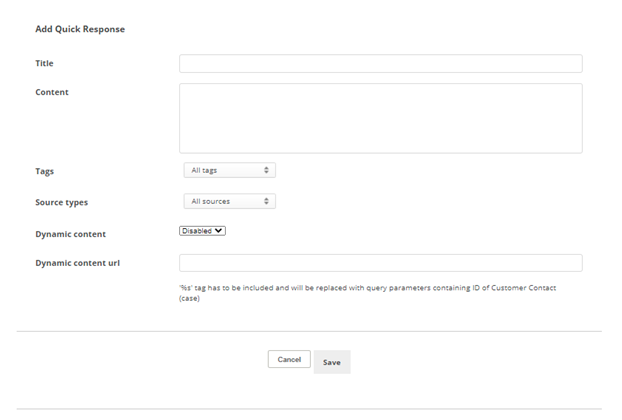
- Click Add quick response.
- Enter a Title for the quick response and the Content of the response.
- Click the Tags drop-down and select those you want this quick response to be available for.
- Click the Source types drop-down and select the channels that you want this quick response to be available for.
- Click the Dynamic content drop-down and select Enabled.
- Enter the Dynamic content url from the Appointment Scheduling channel. This connects the quick response with the appointment service. Be sure the %s is on the end. For example, https://niceincontact.com/appointment-scheduling/custom-components/calendar-links%s.
- Click Save.