

You can customize your chat with various features to enhance both a customer and agent's experience. Many of these features can be enabled and customized as part of a chat skill. You can also reference the Set Up Chat topic to learn more about the process of setting up your chat channel
Enable Chat Timeout and Termination Message
When enabled, the automated warning and disconnect messages are displayed when the contact is inactive for the configured amount of time. If the set amount of time passes, the configured timeout message is displayed. If the contact continues to remain inactive for the additional set amount of time, the chat displays a configured termination message and the chat disconnects. This section explains how to enable the automated warning and disconnect message for an existing chat skill. You can also configure this setting when you initially Set Up Chat.

- Click the app selector
 and select ACD.
 - Go to Contact Settings > ACD Skills.
-
Click a
 Used to automate delivery of interactions based on agent skills, abilities, and knowledge to edit it.
 -
Navigate to the Automated Chat Messaging Timeout section.
-
Select the Enable Chat Messaging Timeout checkbox.
-
Complete the Time to Inactive Chat Message and Inactive Chat Message fields.
-
Complete the Chat Termination Count Down and Chat Terminated Message fields.
-
Click Done.
Enable Chat Typing Indicators
When enabled, chat typing indicators display a message when the contact or the agent are typing so that the recipient of the message knows that the other person is responding.
This section explains how to enable chat typing indicators for an existing chat skill. You can also configure this setting when you initially Set Up Chat.
- Click the app selector and select ACD.
- Go to Contact Settings > ACD Skills.
- Click a Used to automate delivery of interactions based on agent skills, abilities, and knowledge to edit it.
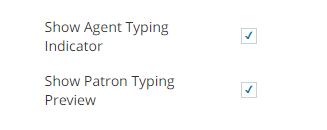
- Select the Show Agent Typing Indicator checkbox.
- Click Done.
Enable Patron Typing Preview
The Show Patron Typing Preview setting in the chat channel allows an agent to preview a contact's message before the message is actually sent, giving the agent extra time to prepare to address the contact's questions or concerns.
This section explains how to enable this setting for an existing chat skill. You can also enable this feature when you initially Set Up Chat.
- Click the app selector and select ACD.
- Go to Contact Settings > ACD Skills.
-
Click a
Used to automate delivery of interactions based on agent skills, abilities, and knowledge to edit it. -
Select the Show Patron Typing Preview checkbox .
- Click Done.
Set Up a Post Chat Thank You Page
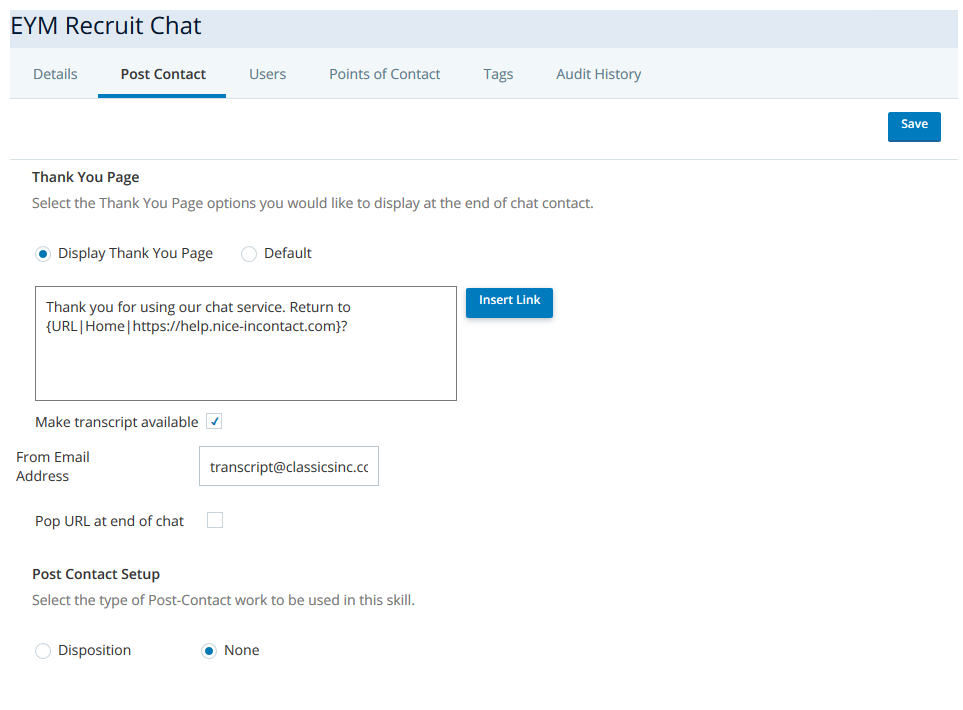
From the Post Contact tab of a chat skill, you can configure a thank you page to appear for a contact when the chat session ends. It can optionally contain the transcript or offer a link to a web page. You can also configure dispositions for the agent to apply to the chat interaction after the chat ends.
- Click the app selector and select ACD.
- Go to Contact Settings > ACD Skills.
-
Click a chat
Used to automate delivery of interactions based on agent skills, abilities, and knowledge to select and open it. -
Click the Post Contact tab.
-
Select the Display Thank You Page radio button. When you select this option, a text field appears.
-
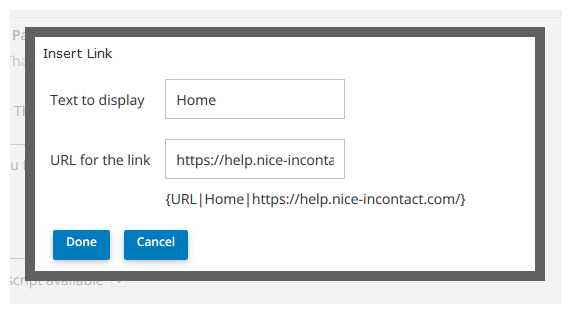
Type a message to appear on the thank-you page in the text box below Display Thank You Page. To add a link to the message, click Insert Link. Specify the Text to Display and the URL for the Link, and click Done.
Learn more about the fields in this step
Field
Details
Text to Display The linked text that contacts see. URL for the Link The website URL that opens when the contact clicks the linked text. - If you want the contact to be able to receive a transcript of the chat, select the Make Transcript Available checkbox and type a From Email Address.
Learn more about the fields in this step
Field Details Make transcript available Available only when you select Display Thank You Page. When using V1 (ASPX), it gives contacts the option of emailing the transcript to themselves or others. When using V2 (HTML5), it gives contacts the options of downloading a .pdf transcript of the chat conversation or emailing the transcript to themselves or others. If enabled, contacts can see the version appropriate transcript options at the bottom of the Thank You page once the chat has ended. Contacts can then email a copy of the transcript by entering the recipient's address in the sender field and clicking Send. If applicable, contacts can also click Download Transcript to save a .pdf copy of the transcript. - If you want to, include a link to a different Web page by selecting Pop URL on Thank You. Type the URL in the Thank You URL.
Learn more about the fields in this step
Field
Details
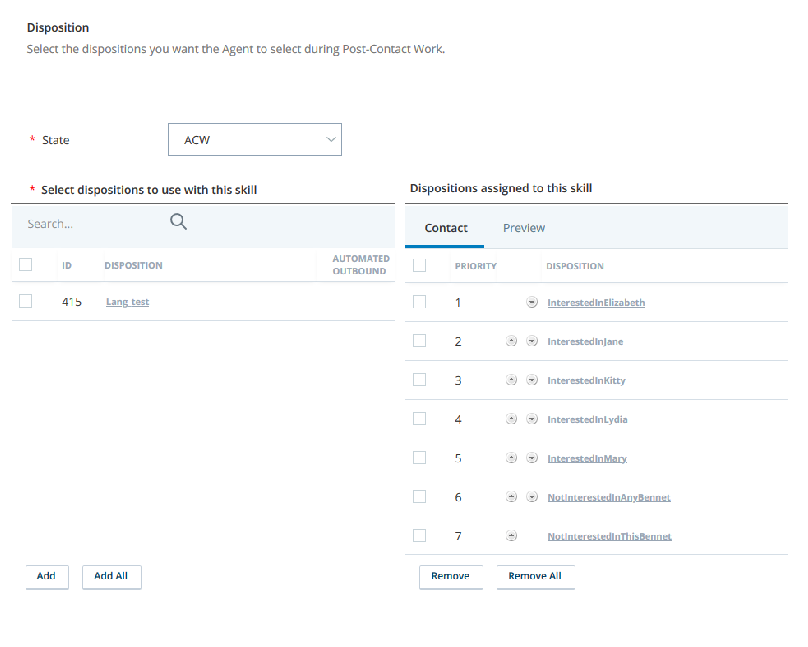
Pop URL on Thank You Opens a new website in a pop-up window in the contact's browser when the chat ends. When you select this option, the Thank You URL field appears. Type the URL of the website you want to pop up for the contact when the chat ends. - If you want to, select Disposition to configure dispositions.
You can add existing dispositions, or create a disposition. Learn more about the fields in this step
Field
Details
State The unavailable state applied to the agent during after call work State that allows an agent to complete work requirements after finishing an interaction..Select dispositions to use with this skill A table of dispositions Result that the agent or system assigns to the contact when the interaction ends. that you can make available for agents with this skill to apply to a record after handling a contact. You must choose at least one by selecting the corresponding checkbox and clicking Add. You can also click Add All to make all visible dispositions available to agents with this skill.Dispositions assigned to this skill A table of dispositions already available for agents with this skill to apply to a record after handling a contact. You can remove dispositions by selecting the corresponding checkbox and clicking Remove. You can also click Remove All to remove all dispositions from the table. - Click Save.
Change the Maximum Number of Concurrent Chats
Agents can participate in chat sessions as a medium of communication, or channel, in your contact center.
You can set the maximum number of chats an agent is allowed to handle at the same time in two ways: 1) at the individual user level and 2) at the team level. If you change the maximum at the team level, it applies to all members of the team. If a user has a different maximum set in the user profile than is in the team profile, the user is bound by the user setting. The minimum number of concurrent chats you can set is 1, and the maximum is 12.
The number of concurrent chats also depends on the setup of your system. For example, if you have a single-channel setup, agents with assigned skills for different channels can only handle one chat if also handling another contact of a different channel type; so, an agent could handle 1 chat, 1 email, and 1 social media contact simultaneously. Contrarily, an agent can handle multiple chats concurrently if that agent is only handling chats. An omnichannel system alleviates this limitation and allows multiple contact types over each type of channel.
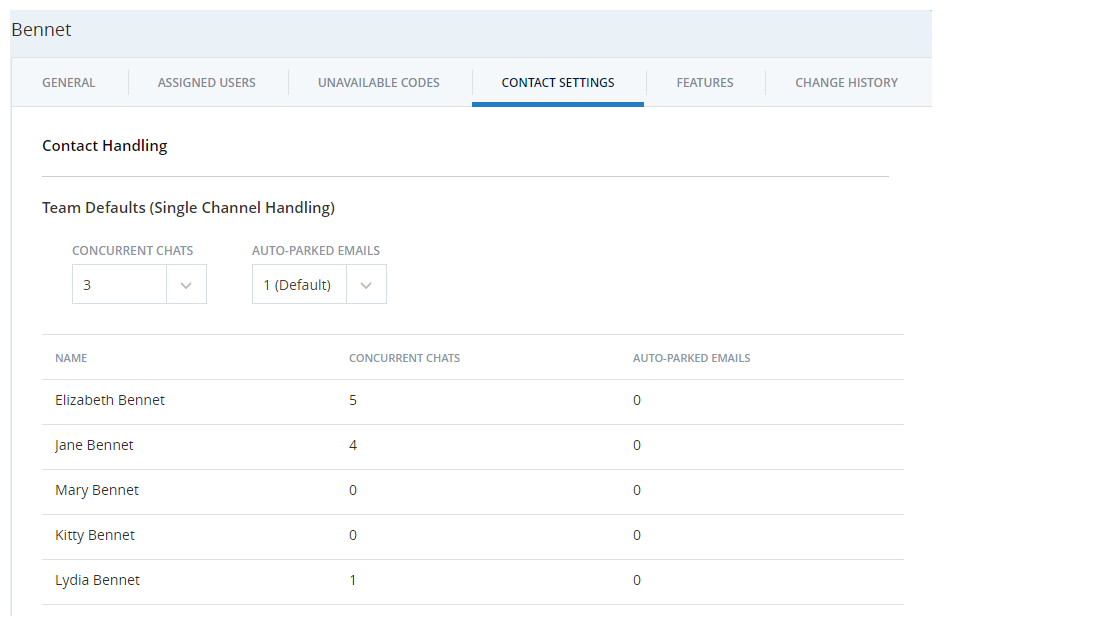
Change a Team's Maximum Concurrent Chats
- Click the app selector and select Admin.
- Click Teams.
-
Locate the team you want to modify. Click anywhere in the row to open the team profile.
- Click the Contact Settings tab.
- Click Edit.
- For Team Defaults, in the Concurrent Chats field, enter a numeric value between 1 and 12.
- You can override the team default setting for an individual user by clicking the Concurrent Chats drop-down under for the user and select Custom, then enter a number between 1 and 12 for that user.
- Click Done.
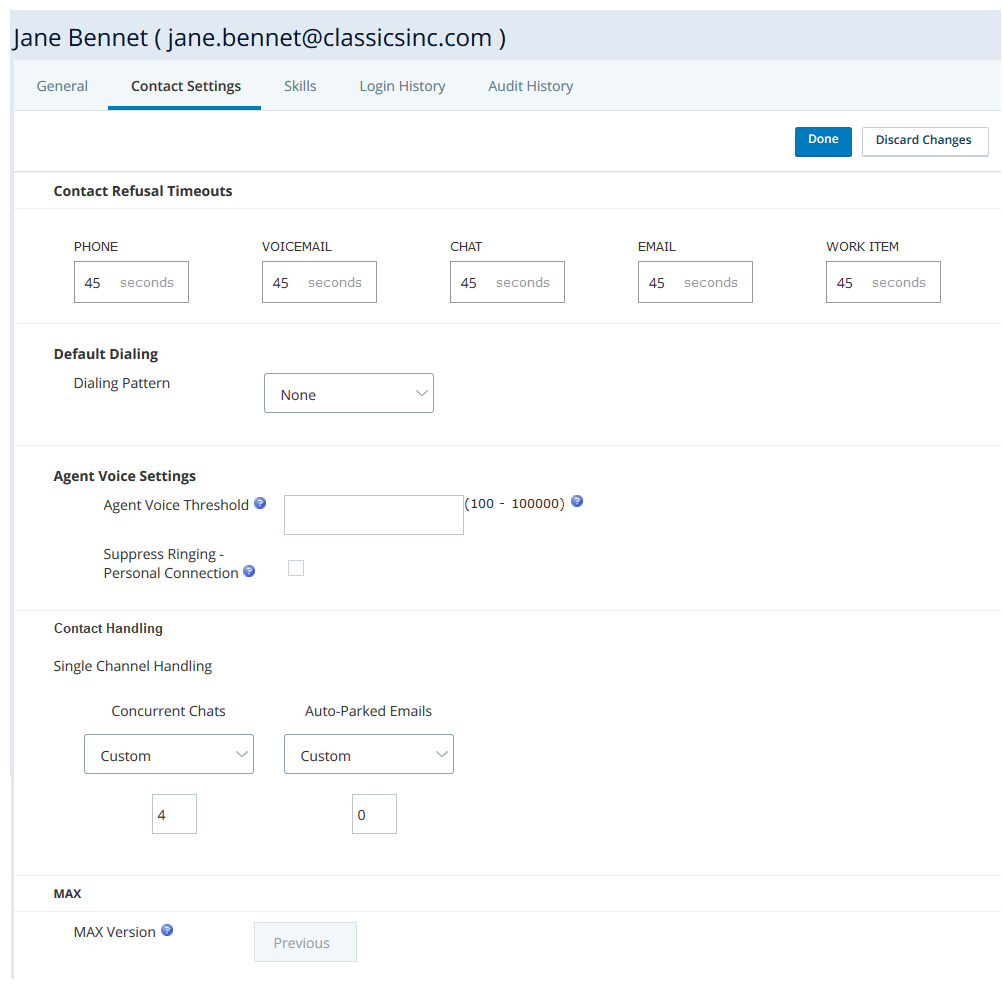
Change a User's Maximum Concurrent Chats
- Click the app selector and select ACD.
- Click ACD Users.
- Use the search feature at the top of the table to locate the user you want to modify, then click anywhere in the row to open the user profile.
- Click the Contact Settings tab.
- In the Single Channel Handling section, for the Chats field, select a value from the drop down. This overrides any default setting at the team level.
- Click Save.