Content on this page is for a product or feature in controlled release (CR). If you are not part of the CR group and would like more information, contact your CXone Account Representative.
Before You Begin
Before you create your first bot![]() Virtual agent designed to handle specific interactions in CXone, you should:
Virtual agent designed to handle specific interactions in CXone, you should:
- Plan the initial use case the bot will handle.
- Gather real-word examples for this use case from your organization. These might include recorded chats, emails, text and social conversations, and voice interactions.
- From your examples, map out a successful interaction (also known as the happy path). Keep your examples, though; you'll need them to train your bot for unhappy paths
 Story that produces a wrong outcome for the intent.
Akela wants to build a bot that can assist users with password resets. She starts by talking to her help desk agents and reviewing recordings. Based on this input, she builds a file of typical password reset interactions.
Once you have this prep work done, you're ready to start using CXone Bot Builder.
Complete each of these tasks in the order given.
Create a User
Required permission: Chatbot (ACD > DFO > Roles > [choose one] > Core Modules)
CXone treats bots![]() Virtual agent designed to handle specific interactions as user entities, so to create a bot you must first create an employee account.
Virtual agent designed to handle specific interactions as user entities, so to create a bot you must first create an employee account.
Follow these best practices when creating your bot:
- Don't use a real agent for your bot. Use a human-sounding name, but choose one that's unlikely to belong to a real person.
- Don't use the same user for more than one bot. Each bot should have its own unique body for routing and reporting purposes.
- Do use the same name for the bot and the user entity. This keeps things simple when you're managing multiple bots.
- Click the app selector
 and select Admin.
 -
Click Employees.
- Click New Employee.
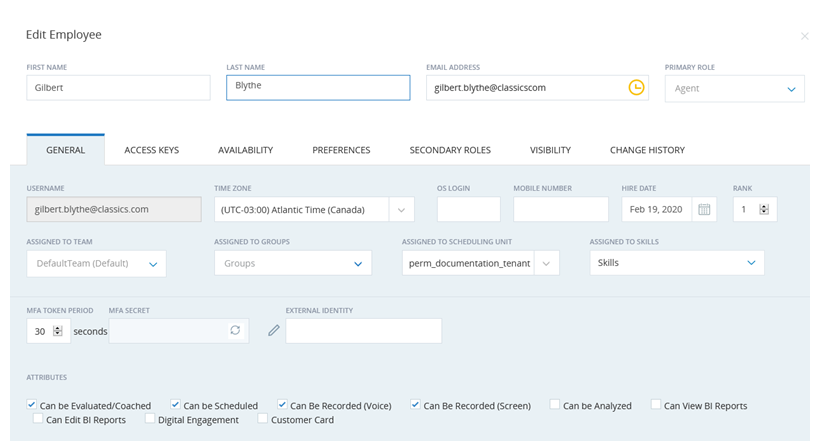
- Enter a First Name and a Last Name. This should be the same name you plan to give your bot.
- Enter a working Email Address. You must be able to respond to the invitation CXone sends to all new employees.
- Enter a Username.
- Select the Digital Engagement checkbox.
- Leave all other settings at their default values and click Create & Invite.
- When the invitation email arrives at the email address you entered, click the link to accept and follow the on-screen prompts. You must accept the invitation to activate the employee or the account will not sync to Digital First Omnichannel.
Set Up a Bot
You can create a new bot from scratch or you can import an existing bot to the Bot Builder platform.
Create a New Bot
- Log in to CXone with your own account.
- Click the app selector and select Digital. This launches the Digital First Omnichannel portal.
-
In the top menu, click Chatbot.
-
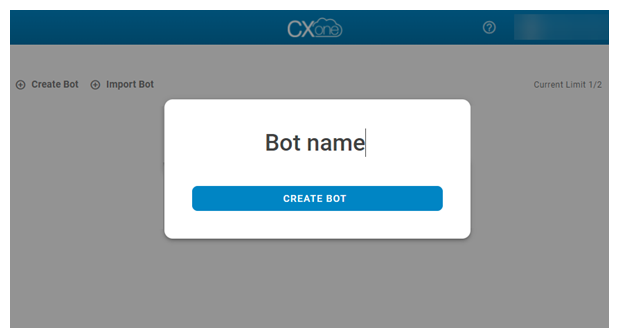
Click Create Bot.
-
Enter a Bot name and click Create Bot.
-
Once the bot is created, click the Chatbot icon in the upper left corner of the screen.
-
For the bot you just created, click Connect to Body.
-
Select a user from the drop-down. You should pick a user you specifically created for the bot. Click Connect.

Import a Bot
- Log in to CXone with your own account.
- Click the app selector and select Digital. This launches the Digital First Omnichannel portal.
-
In the top menu, click Chatbot.
-
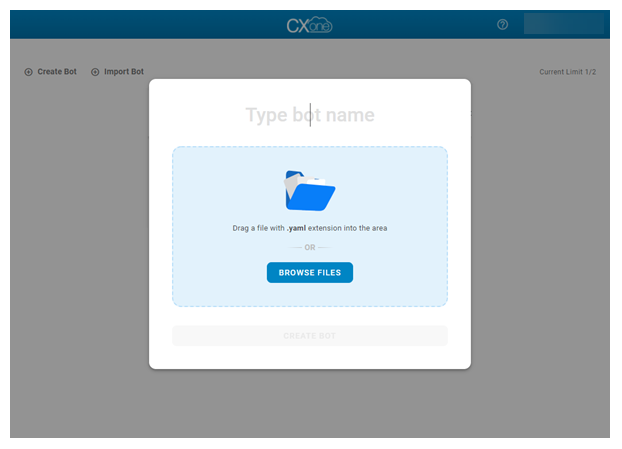
Click Import Bot.
-
Enter a name for the bot, then drag-and-drop or click Browse Files to bring your bot into CXone Bot Builder. The file you import must have the YAML extension. Click Create Bot.
-
Once the bot is created, click the Chatbot icon in the upper left corner of the screen.
-
For the bot you just created, click Connect to Body.
-
Select a user from the drop-down. You should pick a user you specifically created for the bot. Click Connect.