

Customize Domain Name
Your organization is given a URL for accessing CXone during setup. You can customize that URL with a host name that is more meaningful to your users. The URL will use the hostname to create a custom URL such as "tomsawyer.myclassicsdomain.com".

- Click the app selector
 and select Admin.
 - Click Account Settings.
- Enter a value in Custom Host Name.
- Click Save.
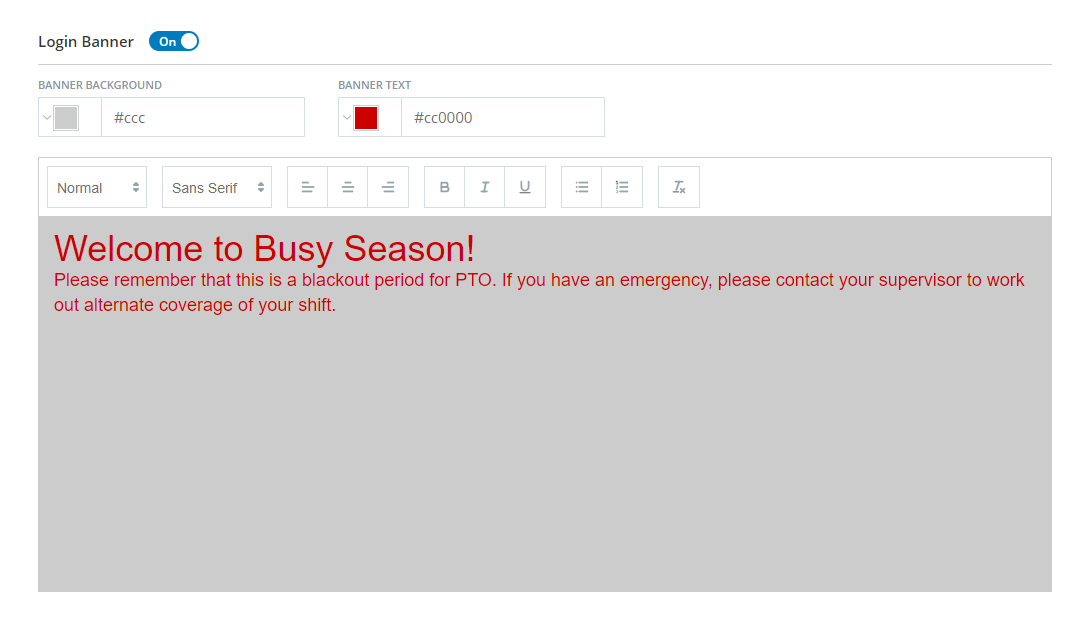
Configure a Login Banner
You can configure a custom banner to appear in the upper left corner of your CXone login screen. This banner can contain any text-based message that you want all users to see. You cannot currently display different banners to different users.
The banner appears immediately after you save it. You can turn the banner off when it's not needed.
- Click the app selector and select Admin.
- Click Account Settings.
- If the Login Banner slider is set to Off, turn it On.
- Enter a banner message in the large text area.
- You can change the color of the banner background and text. You can also modify the font and style, add lists, and make other formatting changes.
- Click Save.
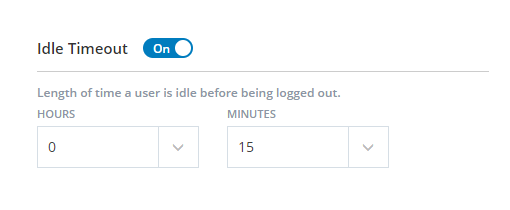
Configure the Idle User Timeout
By default, CXone logs your users out when they have been inactive for 20 minutes. You can adjust this setting to better meet the needs of your organization. This setting affects all users, but only when they are logged in to the CXone web portal (for example, this timeout setting does not impact users logged in to MAX).
- Click the app selector and select Admin.
- Click Account Settings.
- If you don't want inactive users to ever be automatically logged out of the CXone web portal, slide the Idle Timeout toggle to Off.
- If you want to adjust the length of time before inactive users are automatically logged out, set the values you want in the Hours and Minutes fields. The minimum value you can configure is 5 minutes. If you want to set the timeout for more than 8 hours, you must turn the setting off.
- Click Save.